
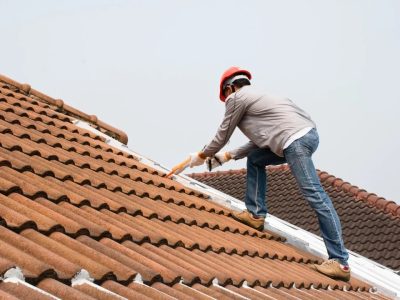
Replacing your home’s siding is a major investment that impacts both curb appeal and energy efficiency. Getting your roof installed correctly ensures it doesn’t break easily, protects your home, and keeps it looking attractive.
It is important to hire an experienced siding installation company like contractor because they use proven methods to give you the best results. Here is what separates a top-tier siding job from a subpar one.
Pre-Installation: Planning Matters
A quality siding project starts long before the first panel goes up. Top contractors meet before the installation to plan debris disposal, how materials will be stored, and how the work area will function.
If you are a homeowner, cut back shrubs, bring outdoor furniture inside, and clear the walls from hangings to lessen the effect of vibrations.
Cutting corners at this stage leads to miscommunication and messy worksites. A professional crew will use protective tarps and clearly outline the project timeline, while rushed teams often skip these steps, leaving homeowners to deal with preventable damage.
Key Steps During Installation
1. Proper Substrate and Weather Barriers
A high-quality installation includes a sturdy substrate (like OSB boards) installed in a staggered pattern for stability. A weather-resistant barrier is then applied, with joint tape sealing all seams. Skipping these layers—or using cheap materials—invites moisture damage and reduces insulation efficiency.
2. Flashing and Trim Done Right
Flashing (Z-flashing above windows, L-flashing along the foundation) must be installed before siding to direct water away from vulnerable areas. Trim should be nailed with finishing nails for a seamless look.
Poorly installed flashing or visible nail heads create gaps where water can seep in, leading to rot.
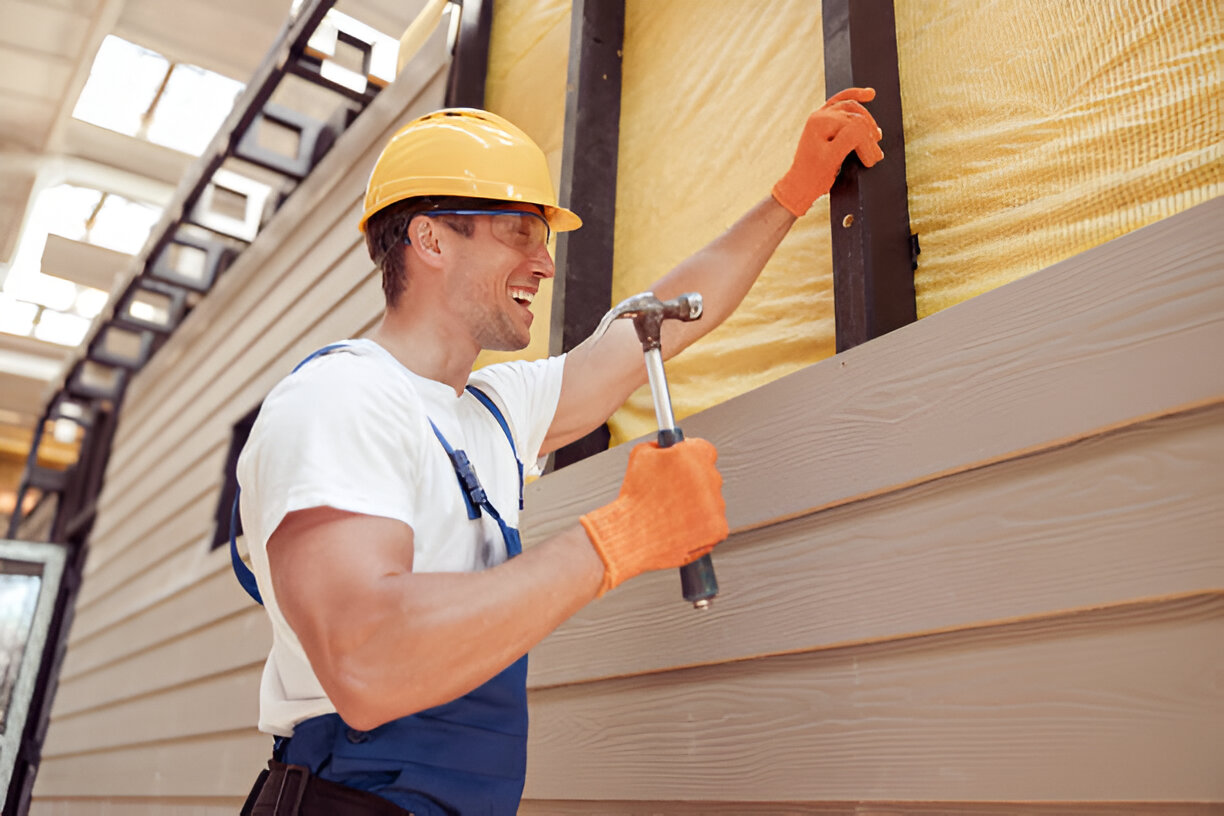
3. Siding Application Techniques
Siding should be installed from the bottom up, with each panel overlapping the one below to shield fasteners. Outlets and fixtures need plastic bezels for waterproofing before caulking.
Rushed jobs often leave gaps or misaligned panels, compromising both function and appearance.
Finishing Touches: Caulk and Paint
The final step—caulking and painting—is where many installers cut corners. High-quality caulk with a 50-year lifespan seals edges, while cheap caulk cracks within years. Paint should be applied over primer after power washing the surface.
Poor prep work or low-grade paint leads to peeling and fading, forcing premature repairs.
Post-Installation Inspection
A reputable siding installation company will conduct a thorough cleanup, using magnets to collect stray nails and reinstalling fixtures like lights and outlet covers.
Homeowners should check for:
- Straight, level panels with no warping
- Tight seams and no visible gaps
- Smooth paint without drips or thin spots.
contractor ensures every project meets these standards, with inspections to confirm quality. A shoddy job often reveals itself quickly—through drafts, water stains, or uneven siding—costing homeowners more in long-term repairs.
Red Flags to Watch For
- No substrate or weather barrier – A major red flag that sacrifices protection.
- Missing flashing – Increases water damage risk.
- Rushed caulking/painting – Leads to early failures.
- Debris left behind – Indicates careless work habits.
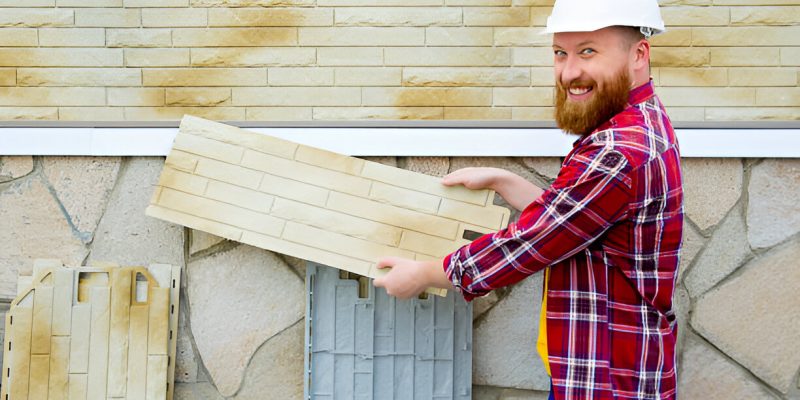
Investing in a meticulous installation pays off with decades of durability and energy savings. Whether you choose fiber cement, vinyl, or composite siding, proper techniques make all the difference.


Comments